
Crafting A Good Creative Brief: Unlock Business Results Faster

From Brief to Success: Unlock Business Results 20% Faster
Everyone understands how hard it is to onboard a new person, an agency, or even a freelancer on your team for a project. What is often left out, though, is how the brief of the project looks.
What is a design brief? In simple terms, it's a short document that outlines the goals, scope, and key insights for a creative or design project. Starting with a well-crafted brief sets you up on the right foot, aligning everyone involved and accelerating the creative process toward results.
Research shows just how crucial briefs are: 90% of marketers and 92% of agencies say a clear brief is one of the most valuable (if neglected) tools for producing good work. And do you know what else, most marketers and businesspeople think they’re good at writing briefs, but only 10% of creative agencies agree.
But how do you write a design brief that truly drives business results in a dynamic world that changes with each passing week, with new competitors, channels, and tech?
We’ll show you how by drawing inspiration from industry leaders, award-winning agencies, and our process. Whether you’re part of a startup team moving at breakneck speed, a marketer juggling campaigns, or a business team coordinating across departments, these principles will help you create briefs that get everyone on the same page and unlock outcomes faster.
Let’s delve into the essential components of what makes an effective creative brief.
1. Priorities: Hierarchy of Business Needs and Tasks
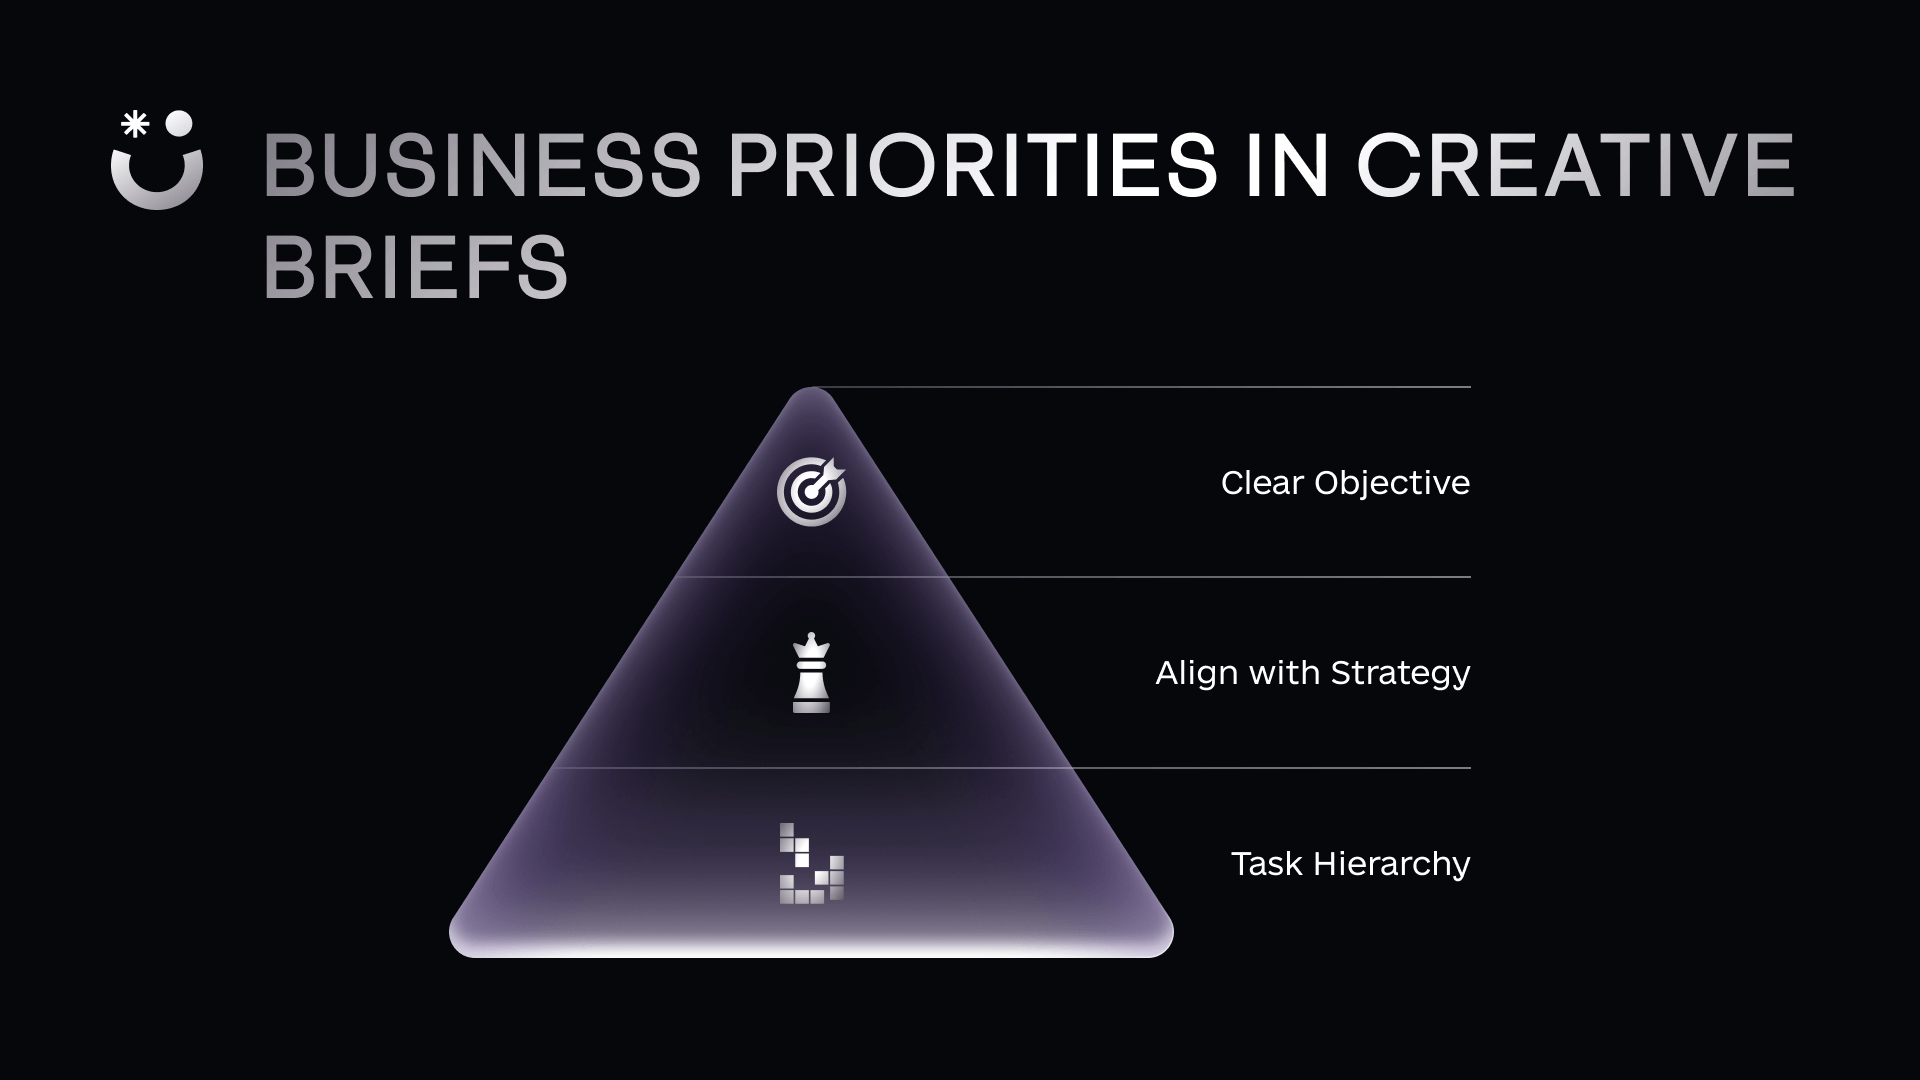
Every great design and creative project starts with clearly defined priorities. This means understanding the hierarchy of your business needs and how the creative task fits into it. Before jumping into deliverables, take a step back and ask: What are the overarching business objectives we’re trying to achieve?
For example, if you need a new website to boost product sales, your primary goal might be to create a high-converting site that showcases your product in the best light. That goal will spawn supporting tasks – you might realize you first need a solid brand identity, then product imagery, and only then the website page design.
Align your business strategy to the task. Once you map a seemingly simple project against your business goals, it often breaks down into a multidisciplinary sequence of tasks.
Start by defining clear objectives for the project: Is it about brand awareness, lead generation, a product launch, or something else? Be specific. Next, ensure the creative work supports those overarching business goals, as every design and creative decision should relate to your strategy. Finally, establish the task flow and hierarchy: identify all the sub-tasks or components needed and their execution order.
As Upqode, a digital web design agency, puts it, a well-written brief “accelerates your creative process by clarifying your priorities”.
In short, you have to:
- Define clear objectives: Outline the primary goals, be it brand awareness, lead generation, or product launch.
- Align business strategy: Ensure the creative work supports business goals.
- Define task flow and hierarchy: Break the project into all necessary tasks or stages. Understand whether you have a project with multiple tasks or a simple task on hand.
Once that’s done, we can start discussing deliverables. Here’s the best way to request them.
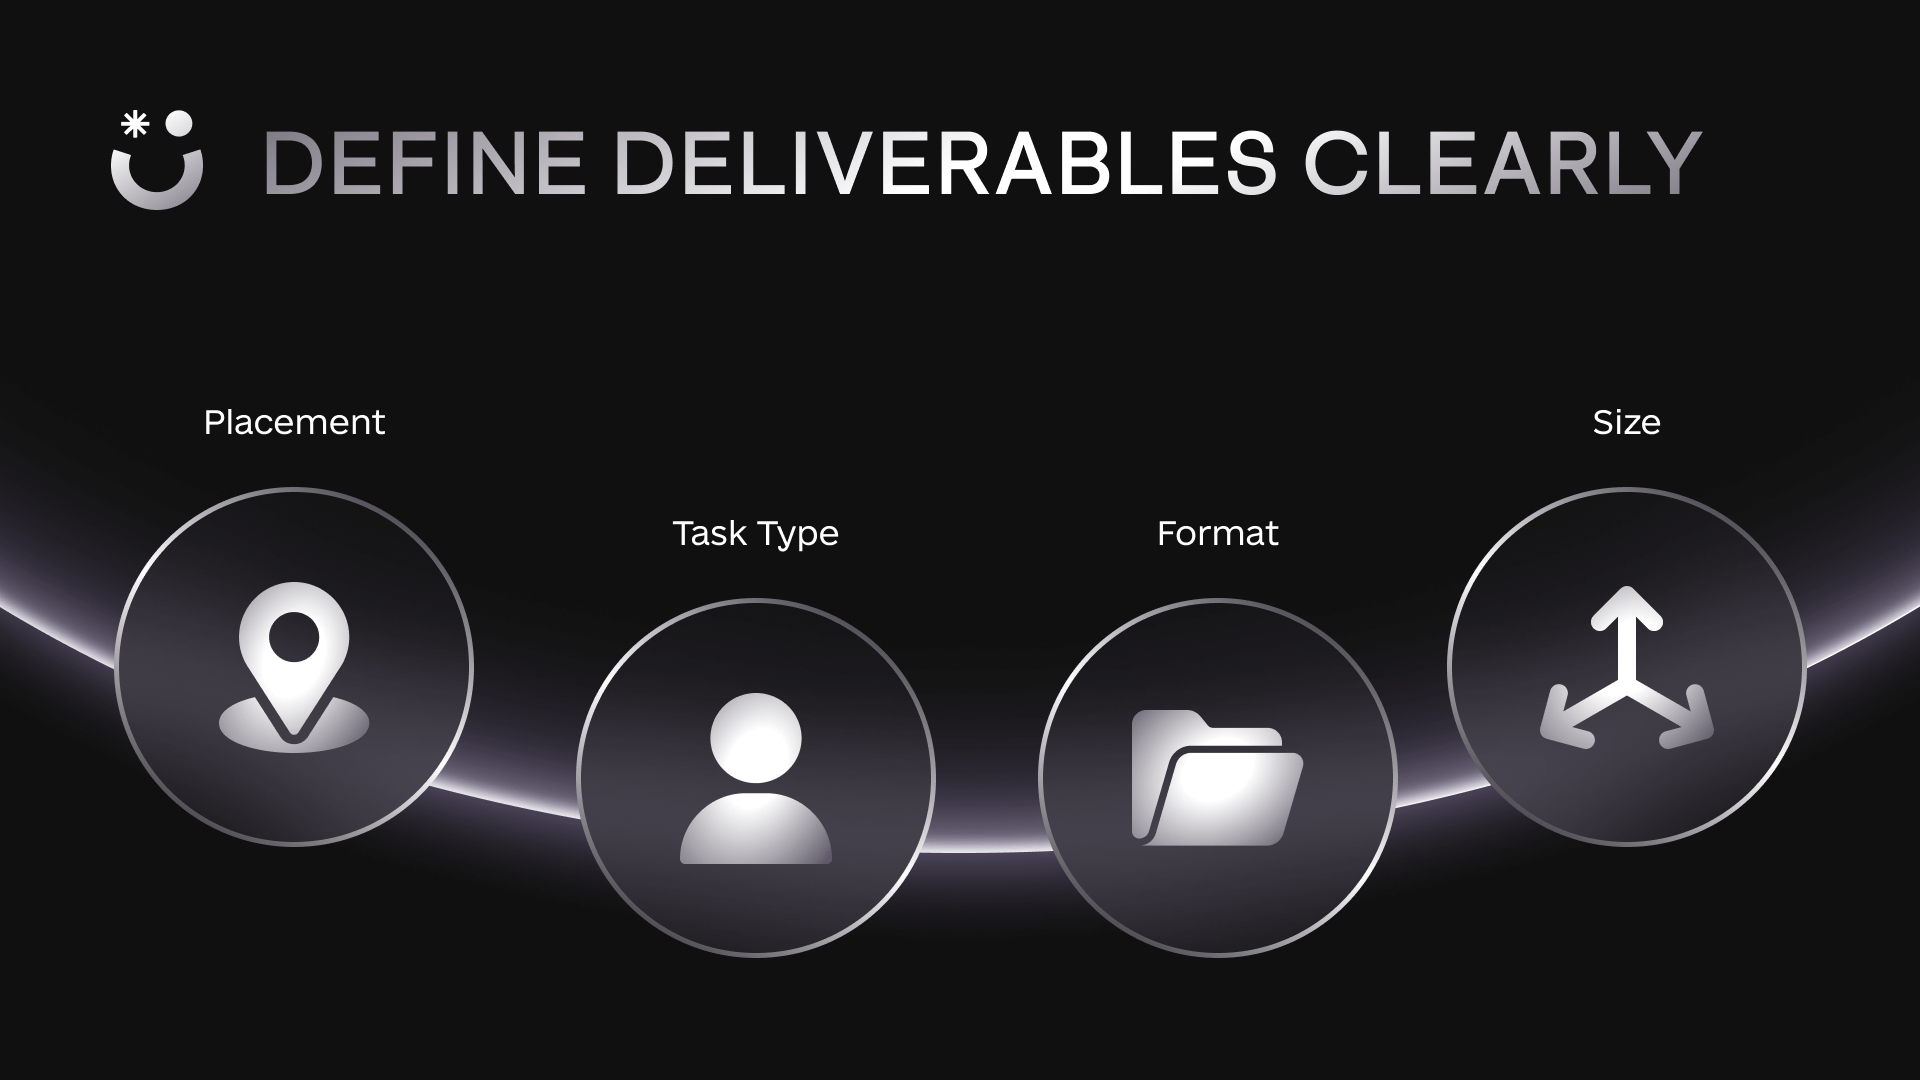
2. Deliverables: Placement, Type of Task, Formats, and Sizes
Now, let’s ensure you’ll get all the deliverables you need. Because the worst case scenario is you do all the legwork of defining the objectives, the business strategy, and the task hierarchy, only to receive half of what you were expecting. That's why many teams choose to hire an AI proposal designer through Awesomic upfront, ensuring every deliverable is scoped, structured, and communicated clearly before work begins.
A few common parameters can describe almost every creative output, whether it’s a logo, a website, an ad banner, or a brochure.
Nail these down in your design brief to avoid any surprises or rework:
- Placement & Channel: Clearly state where each design asset will be used. Is this for your website, a social media campaign, an email newsletter, print flyers, or all of the above? The placement or channel affects many design choices. For example, an image for Instagram might need to be square and visually striking, whereas a website hero image has different dimensions and can include more detail. If you need more than one, list each deliverable alongside its intended channel.
- Type of task: Indicate the nature of the work and what skills are required. Are you asking for a graphic design brief (visual design work), a copywriting task, a UI/UX design, an illustration, or a combination? For instance, designing a blog post graphic might be handled by a graphic designer, while creating a landing page layout might require a web designer or UI specialist. Defining the task type in the brief helps assign the right talent.
- Format: Specify the format or file type in which you need the deliverable. This is crucial for a smooth handoff. If you need a printable file, say so (e.g. “print-ready PDF with 0.125 inch bleeds”); if you need an editable source file, mention the software (Figma, Adobe XD, Photoshop, etc.). For digital graphics, clarify if you need PNGs, JPEGs, SVGs, or layered files. The format dictates specific design considerations, such as CMYK vs RGB color for print vs web or safe margins for print. Don’t assume the designer will know the final format; make it explicit to avoid disappointment.
- Size: Provide each deliverable's exact dimensions and any file size constraints. If it’s an ad banner, what pixel dimensions are required? If it’s a flyer, what is its physical size? Also consider resolution (300 DPI for print is standard, for instance) and aspect ratio for responsive design. Mention any maximum file size if the asset will be uploaded somewhere with limits. For example, “1920x1080px JPEG, under 500KB” is a precise specification.
It’s much better to decide upfront that you need a website design brief that results in a responsive desktop and mobile layout than to realize it after the design is delivered. In short, what you need to provide in this aspect are:
- Detailed specifications about the deliverables: List all required assets
- Format and size: For all the necessary assets, ensure to add their sizes and formats
- Context of where it’ll be used: For all required assets, where they’ll be shown. Their placement in a channel.
You set clear expectations by detailing placement, task type, format, and size for every requested deliverable. This way, nothing gets forgotten – if you need five versions of an ad (for different platforms, sizes, etc.), they should all be in the brief.
Being thorough here saves you from asking for revisions or additional versions later.
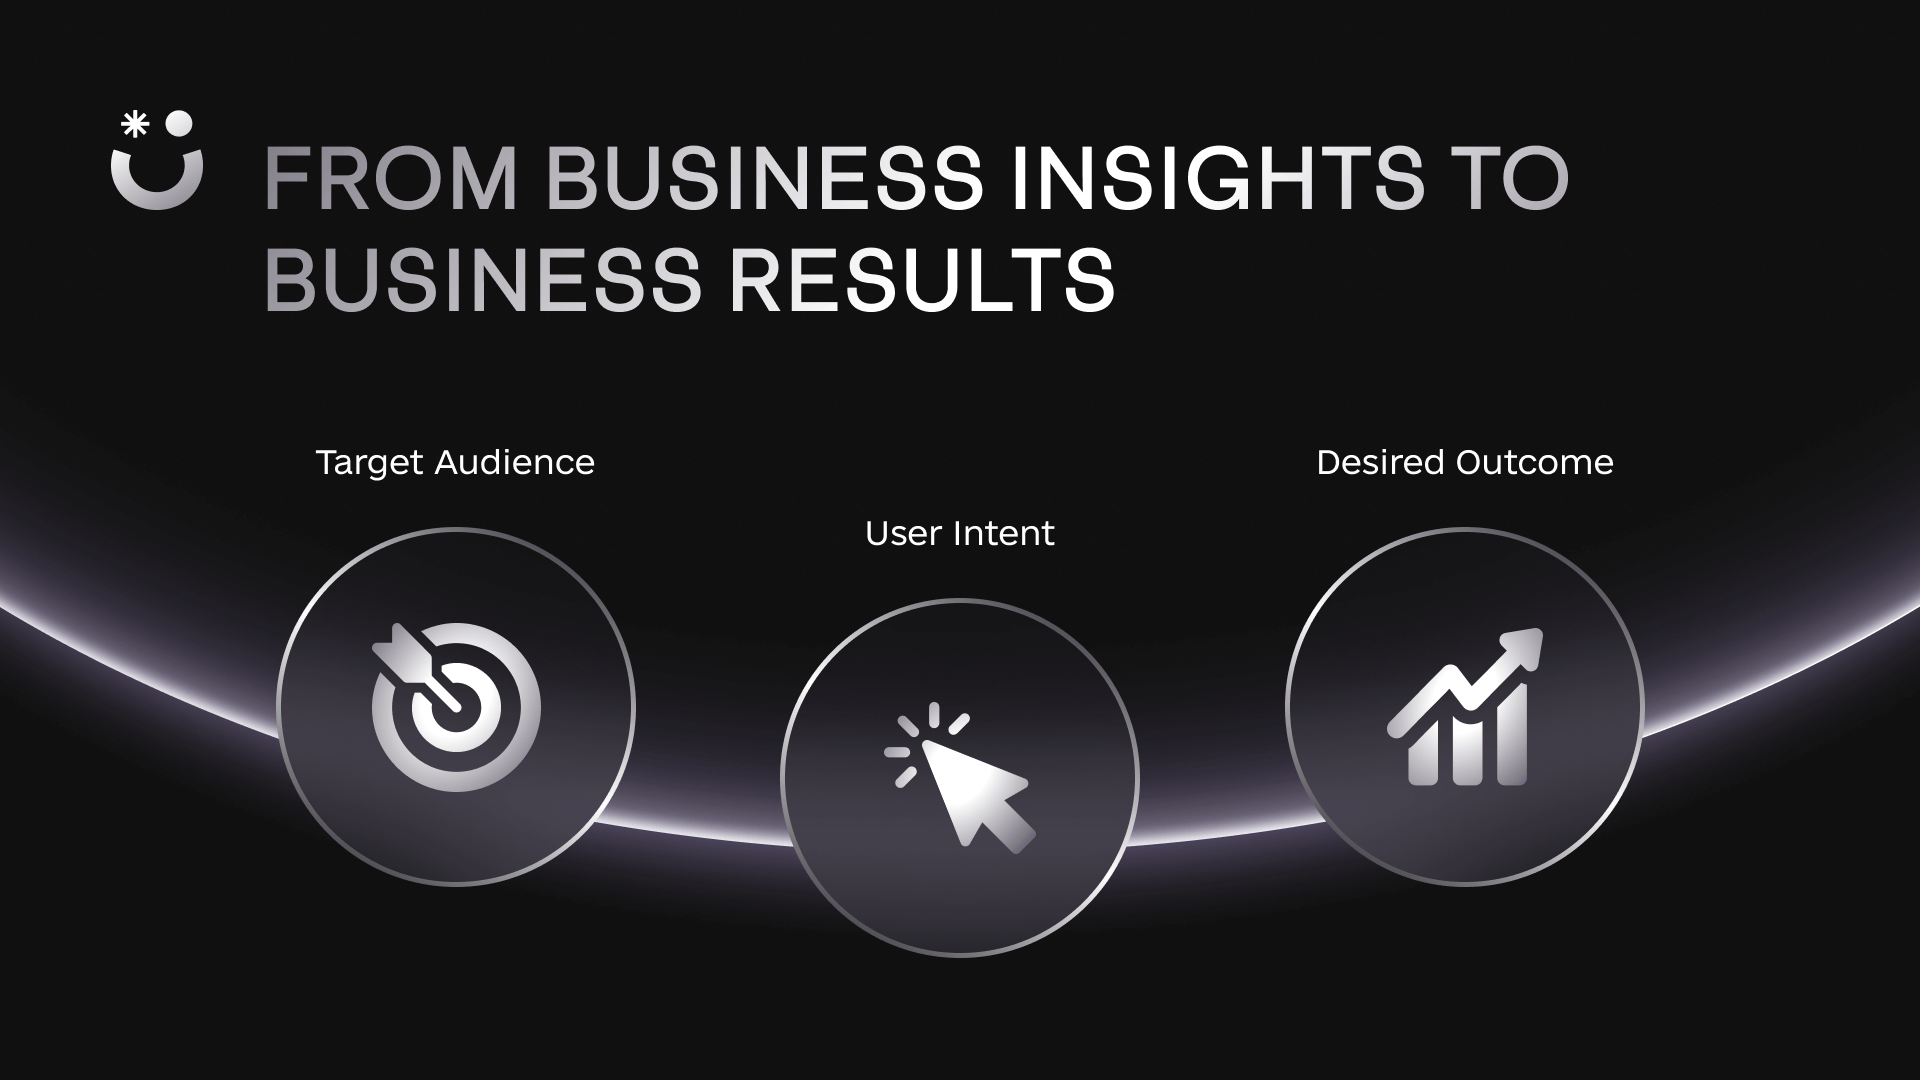
3. Context: Target, Intent, Current Situation, References
Let’s move on to providing context for the creative work.
This is where you inform and inspire your creative team with the background details that shape the project. Think of context as everything that gives meaning to the task: who it’s for, what you want to achieve with it, where things stand now, and what examples to take inspiration from.
You need to add all the context that is relevant for the creative task that you require to be done. And by all the context, we mean everything that may even be barely related to the task at hand.
Here are the 4 points you should focus on at this point:
- Target audience: For the target audience, you have to include demographic information, psychographics, and, if you have them, the user personas. This will set the context and bring both parties to the same page.
- Intent: What do you want the user to do when interacting with this creative? This is the main answer you need to have clarity on. Let’s say for that Landing Page that you want the user to understand the product even if they have never heard about you, and to convert ideally by the middle of the page. This is something your designer and copywriters need to have as information.
- Current situation: Is the task crucial for your business to function or grow, or is it a nice addition? How are the competitors doing this? Why is this important for your company? These are the sorts of questions that are useful for the creative, as they put their possible impact into perspective, and how to approach revisions and such.
- References: Here’s the gold that people have been hiding from you. You certainly have at this point seen other creative work that really spoke to you, and that you know would be something that you want to test in your current efforts. Add that creative work to the brief. Be very clear about what is inspiration, what are stylistic notes, and even what to avoid. Sometimes, including what to avoid will be even more beneficial than what to follow.
When compiling the context section, err on the side of too much relevant information rather than too little. As a rule, if a detail might influence design decisions, put it in the brief. This could also encompass brand guidelines (logo usage, color palette, tone of voice) or key messages if not covered elsewhere.
Remember, the goal is to share all the background knowledge in your head with the creative folks who aren’t inside your head. In short, you must:
- Add audience insights: Describe demographics, psychographics, and user personas.
- Clarify Intent: Clarify the desired user action or response.
- Explain the current situation: Provide background, including market conditions and brand positioning.
- Include Do’s and Don’ts: Include examples of desired styles and note what to avoid.
With a solid context section, your brief gives creatives a 360° view of the project. They’ll understand the why behind the what, which is key for producing work that isn’t just pretty but effective.
4. Specifics: Support Material, Technical and Creative Requirements, USP, Company Identity
Last but not least are the support materials that are specific to a particular task. Some of these may change depending on the task at hand, such as branding guidelines or a marketing glossary, but the idea remains the same: this is when everyone must be on the same page.
Our creative work research has shown 5 common points of attrition that end up being big problems for project delivery. Make sure your brief addresses each of these:
- Support Material: Include or attach all the necessary assets and background materials the creative team will need. That support material usually includes: attaching existing brand guidelines, assets, glossaries, logo files, product images, copies of previous ads or designs, and relevant research or data. Also, give any other approved work on the task upfront to prevent a situation where the creative talent is blocked waiting on materials.
- Technical Requirements: Outline any technical specs or constraints beyond format and size, although it won’t hurt reinforcing it. You must include and reiterate the platforms, software, technologies, compliance, font usage, and others. Essentially, this is the section to list any “must-do” or “must-avoid” technical details to ensure the output is compatible with your needs.
- Creative Requirements: As for the creative requirements, here is where you highlight the tone of the creative you asked for, as well as give stylistic notes, messaging if necessary, and link back again to the do’s and don’ts while adding necessary context such as “All images must include real customers, not illustrations” or “Don’t use purple”, and the competitor research and references you may have at hand.
- Unique Selling Proposition (USP): Many creatives will ask, “What makes you unique?” because it influences how they highlight certain elements in the design. If your USP is, say, fastest delivery in the market, the designer might choose to emphasize speed in the visuals or layout (like using dynamic graphics or placing an express icon). Don’t assume the creative team inherently knows your differentiator. Emphasize what sets you apart from competitors, and add additional context to the market in which your product or service exists.
- Company Identity: And to close everything out, you must ensure any creative talent understands your company’s identity. Reiterate mission, vision, and core values. Remember that you may know everything about your company but the creative talent don’t have access to those insights and thoughts until you share it with them.
The main question you need to answer here is: will that information be useful for the creative task to be completed? If the answer is maybe or yes, add it to the task brief right at the end. It can only help.
Building a creative brief: The easy way
By covering these specifics, you make sure nothing important falls through the cracks. Think of this section as the catch-all for any requirements that didn’t fit neatly elsewhere in the brief. After reading your completed brief, a designer or writer should have everything they need to start working immediately, with zero guesswork about content or constraints. As a final check, you can ask yourself: “If I were handed this brief, would I know exactly what to do and how to do it?” If the answer is yes, you’ve nailed it.
Before we move on, here’s a quick checklist of these specifics to double-check in your brief:
- Attach support materials (brand assets, relevant docs, examples).
- List technical specs (software, platform, color/profile requirements).
- Clarify creative guidelines (tone, style, must-have elements, messaging).
- State your USP (what unique point should the design convey?).
- Include company background (mission, values, any cultural nuances).
At the end of your brief, it can be helpful to literally ask, “Any other info the creative should know?” and then fill in anything that comes to mind. It’s better to overshare than to leave a gap.
The Creative Brief Checklist: 12 Steps for Deliverability Success
We’ve covered a lot of ground. To help tie it all together, here’s a concise checklist you can use when writing your next creative or graphic design brief. This checklist summarizes the steps and components we discussed above. Use it as a final sanity check before you send your brief off to the team:
- Project Overview & Objectives: Write a one-liner of what the project is and define its main goal (e.g. “Design a landing page to increase free trial sign-ups by 20%”).
- Business Alignment: Confirm how this project supports a broader business goal or KPI.
- Deliverables List: Itemize every deliverable needed. For each item, note the placement/channel, type (discipline), format, and size/resolution requirements.
- Target Audience: Describe who the end user or viewer is, including any user persona details that can give insight into what they care about.
- Intent & Key Message: State the action you want the audience to take or the main message you need to convey. What should people do or think after seeing or interacting with the creative?
- Current Context: Briefly explain the project’s background. Why you’re doing it, what’s the opportunity or problem, and any relevant competitor or market info.
- References/Inspiration: Provide links or images of at least a couple of examples: things you love and, if possible, things to avoid. Add notes on why each reference is relevant.
- Brand Guidelines: Ensure you’ve attached or linked any brand style guides, highlighting crucial brand requirements such as fonts, colors, and tone of voice.
- Technical Details: List any technical or platform specifics (software to use, file deliverables, dimensions, etc.) beyond the basics.
- Support Assets: Attach all supporting materials. These can be: logos, images, copy text, data sheets, login info if needed for a platform. Whatever the creative might need to do the job.
- USP & Differentiators: Mention what makes your product or company unique so that the creative work can reinforce it.
- Approvals & Contacts: Include who the point of contact is for questions and who will approve the work. This sets expectations for the feedback loop and how long it’ll take to get everything done.
Check off each item above, and you’ll have a thorough brief. A clear, detailed design brief is the best insurance against misunderstandings and rework. It might take a bit more effort up front, but it saves enormous time during production. You’ll get results faster and with less friction.
Turn your idea into reality with Awesomic

We hope this deep dive has been a helpful guide on creating a briefing that makes things easier and delivers projects faster than average. A well-crafted brief is the first step toward creative success. Executing on that brief is the next big challenge.
But it doesn’t have to be…
That’s where Awesomic comes in. If you’re excited to turn your creative ideas into reality, we invite you to book a demo with our team. In just 30 minutes, we’ll walk you through how Awesomic can become your on-demand design partner and show you our solutions for fast, high-quality creative work.
The Awesomic app bridges the gap between traditional hiring and modern solutions. Gain access to top-tier talent, an easy-to-manage workflow, and get help from our AI-powered solutions to create a perfect creative brief. Submit your projects in minutes, with a few clicks, and you’ll be matched with the best-fit creative talent in as little as 24 hours. Manage everything from the app, including communication, calls, reviews, feedback, and add your team members for visibility.
Want to know more about how Awesomic can fit into your workflow? Book a 30-minute demo today and get personalized guidance on leveling your design process. We’ll share real use cases tailored to your goals and show you how to scale your creative output without scaling your headcount from ad creatives to complete website migration.
Take the next step now, and unlock the benefits of a new hiring solution like you've never used before. On-demand execution, a fraction of the hiring cost, and the high quality of a top-tier agency. Join the 4,000 companies that have already trusted Awesomic to complete over 14,000 projects and tasks.
One subscription and your hiring problems solved


FAQ
Awesomic is a revolutionary app that matches companies with vetted professionals across 30+ skill sets, from design and development to marketing and product. Based in San Francisco with a global core team, we offer a faster and more flexible alternative to traditional hiring through a subscription-based model. Awesomic delivers high-quality talent on demand, without the delays of recruiting.
We function as a subscription-based service that matches you to top-tier, vetted talent. Submit a project in just a few clicks and start receiving deliverables in as little as 24 hours. Scale your Awesomic plan up or down as your business needs change.
Every Awesomic subscription comes with unlimited revisions. You receive daily progress updates via the app, and you can provide feedback or request iterations as needed. If your project requires a different approach, you can request a talent rematch at any time, at no extra cost. You can also add teammates to collaborate and streamline feedback
A talent marketplace is a platform that utilizes data and intelligent matching algorithms to connect professionals with projects based on their skills, experience, and availability. While often used internally by large companies, Awesomic applies this model at scale, matching vetted global talent to your most critical business needs.
Hiring is time-consuming, expensive, and risky. Awesomic eliminates that problem. We rigorously vet all talent for technical ability, communication, and soft skills, ensuring only senior-level professionals work on your projects. You skip the job posts, interviews, and delays, and get straight to results.
No, Awesomic goes beyond design. While many clients utilize us for branding, UI/UX design, or motion graphics, we also provide vetted talent in no-code web development, product design, marketing, and more. Think of us as an extension of your team. A flexible, high-performing creative partner from planning to execution, whether you're building awesome products or scaling your team.
You can talk directly with your matched talent via the Awesomic app, connect via Slack, email, or schedule video calls. No matter the plan, you’ll receive daily updates in the app for every active task. You can also tag us in for any issues through our in-app customer chat.


